CCTV DVR Alarm Input Setup - iDVR-PRO Video Surveillance DVRs
iDVR-PRO CCTV DVRs support alarm input integration that can be configured to trigger actions such as video surveillance recording, email alerts, and video popup. Burglar alarm devices motion sensors, magnetic door sensors, infrared trip wires, photoelectric beams and any other kind of digital output alarm device can be used. The A series iDVR-PRO models support 4 alarm inputs. The 8 camera iDVR-PRO8H supports 8 alarm inputs and the 16 channel iDVR-PRO16H supports 16 inputs. The latest hybrid iDVR-PROs also support alarm inputs. The new hybrid DVRs support analog CCTV, AHD, and HD-TVI cameras which means that you can mix and match D1, 960H, 720p, and 1080p security cameras on the same DVR. You can find the latest
CCTV / HD security camera DVRs here.
The following actions can be taken based on an external alarm input.
- Alarm Recording - the DVR will begin recording when an alarm is triggered.
- Alarm Buzzer - the DVR sounds an audio beeping sounds.
- Video Pop-up - the video channels(s) that are associated with the alarm appear on the screen.
- OSD Pop-up - a message appears over the video that displays which alarm was triggered.
- Email Alert - an email alert is sent.
- FTP Upload - a snapshot of the event is FTP uploaded to a server.
- PTZ Preset Location - if your system has a pan tilt zoom camera, you can program alarms to trigger PTZ cameras to go to a preset location.
Alarm Input Wiring
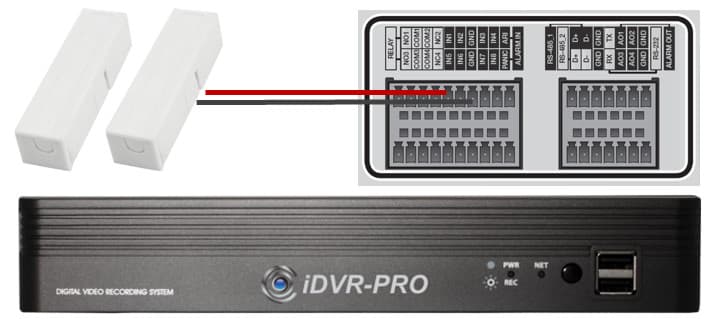
In this example, we are going to use the iDVR-PRO8H which has 8 alarm inputs. The below wiring diagram shows how to connect a magnetic door sensor to alarm input one on the DVR. One of the wires from the door sensor is connected to the port labeled input 1. The other wire from the sensor is connected to the ground.

PIR Motion Sensor Wiring
Motion sensors can be connected to the iDVR-PRO using the same alarm inputs. The below image shows
the MS-100E outdoor PIR motion detector wired to alarm input #1 of the DVR.

DVR Alarm Input Configuration
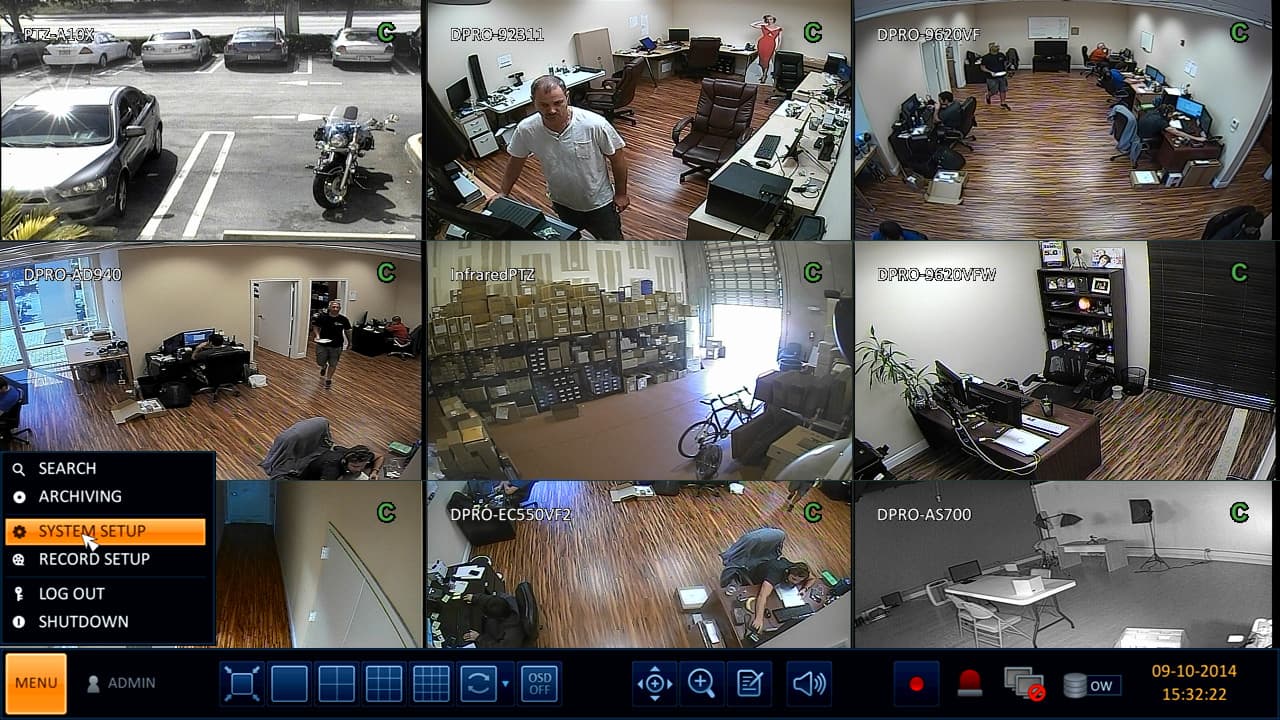
After your alarm device is properly wired to the DVR input, you can begin configuring the software on the DVR. Using the USB Mouse that is included with the DVR, click the
Menu button in the lower left portion of the screen, then select System Setup. (Shown Below)
On the system setup screen click on Event, then select Alarm Sensor.
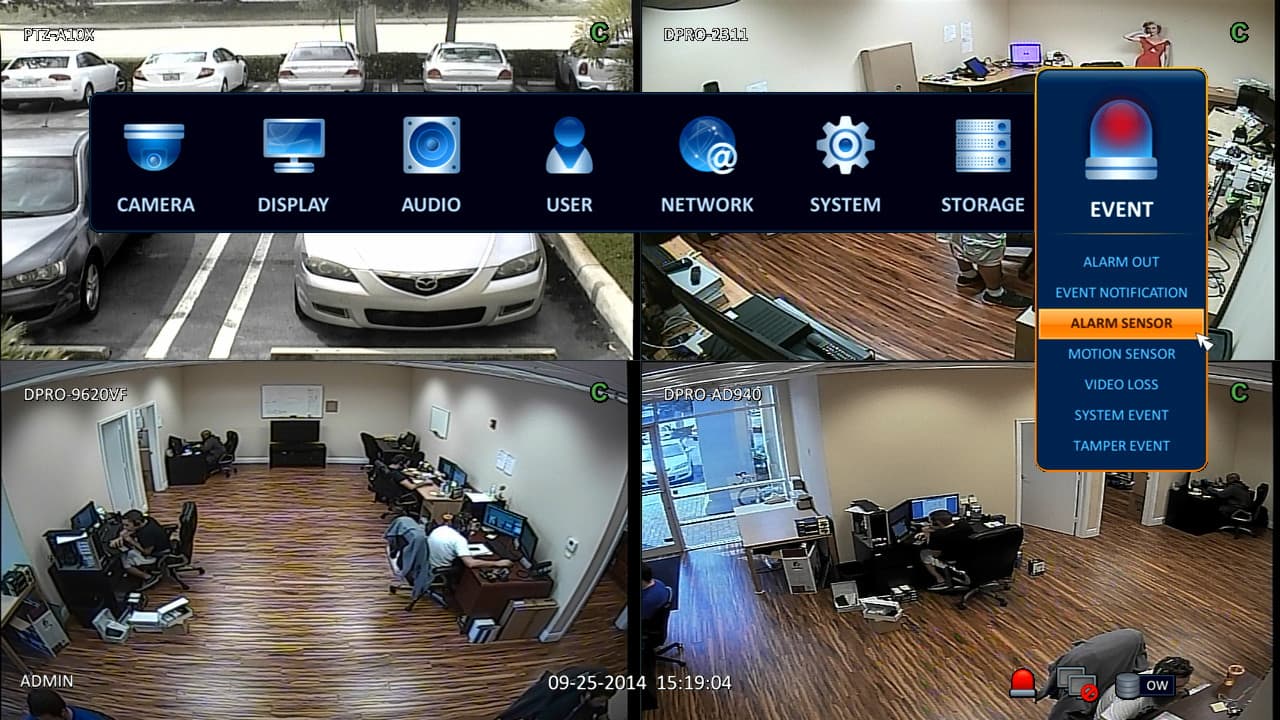
On the alarm sensor event screen, double-click on the name field for the input number that you are configuring to name the alarm. In the operation field, choose whether the normal state for this sensor is normally open (N/O) or normally closed (N/C). A door sensor, for example, is normally closed. When the door is opened, the magnetic charge is no longer present and the circuit is opened. In the linked camera field, click the drop-down and select one or more cameras that you want to be associated with this alarm. The alarm output setting is optionally used if you want the alarm to trigger an output sensor.
Use the 6 checkbox fields to configure which actions you want taken when the alarm is triggered: PTZ preset, buzzer, video popup, OSD popup, email alert, and FTP upload. When you are done, click on the apply button, then close.

Follow these instructions if you want to configure your DVR to record based on alarm input.
Using the mouse, click on the menu button and select record setup.

If you choose intensive alarm recording, the DVR will record continuously, then record using different settings when an alarm is triggered.

On the intensive alarm recording setup screen, you may configure different video resolutions, frame rates, and compression quality for when the DVR is recording continuously vs when in alarm. In addition, you may also set up the pre-recording and post-recording time in seconds.

When you are done, click OK, then apply and close.
OSD Pop-up
If you set up the OSD popup to engage on alarm this is what the screen will look like when the alarm is triggered.

Recording Notification
If alarm based recording is set up, the screen will display a red "A" on the channel that is associated with the alarm. Notice that the other 3 channels display a "C" which means that they are recording in continuous mode.

Learn more about iDVR-PRO
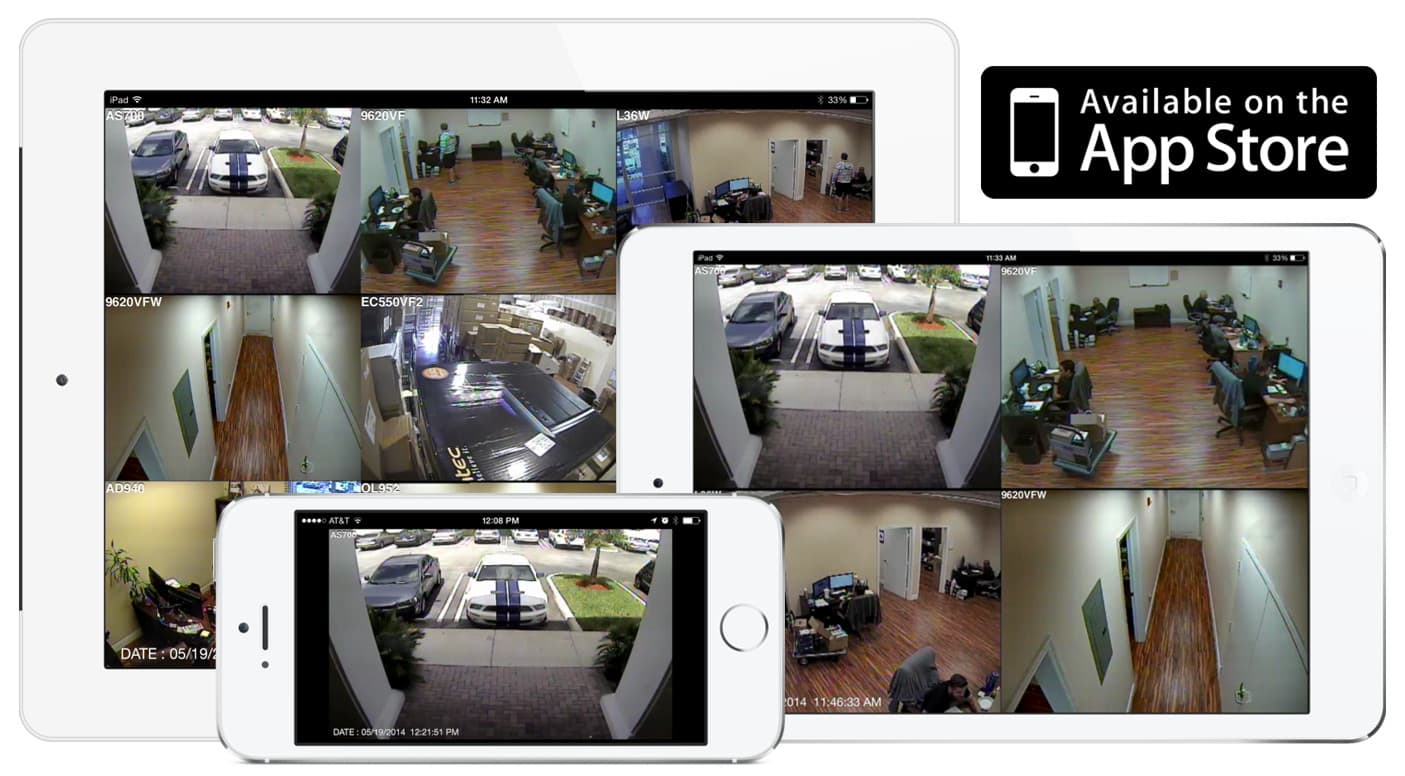
iPhone / iPad Compatible
|
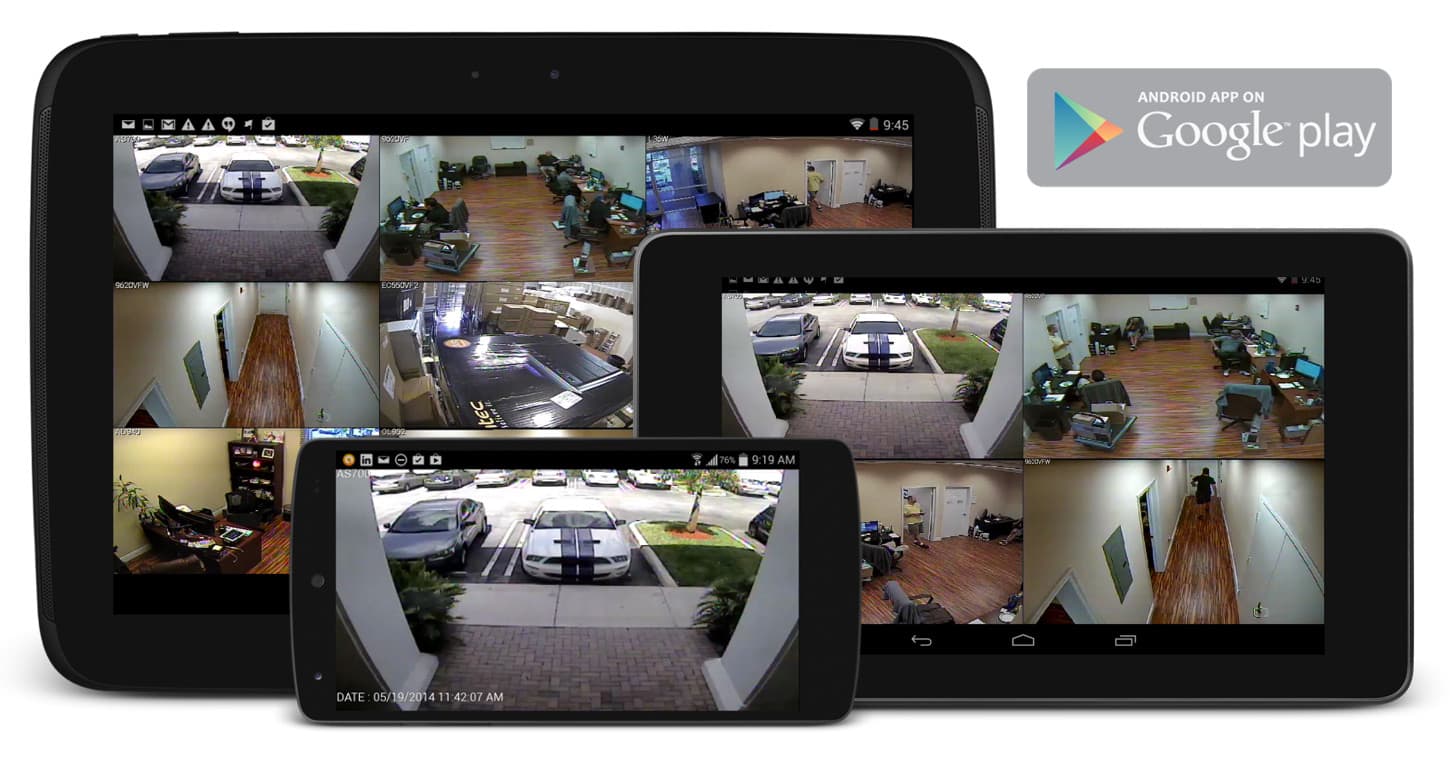
Android Compatible
|
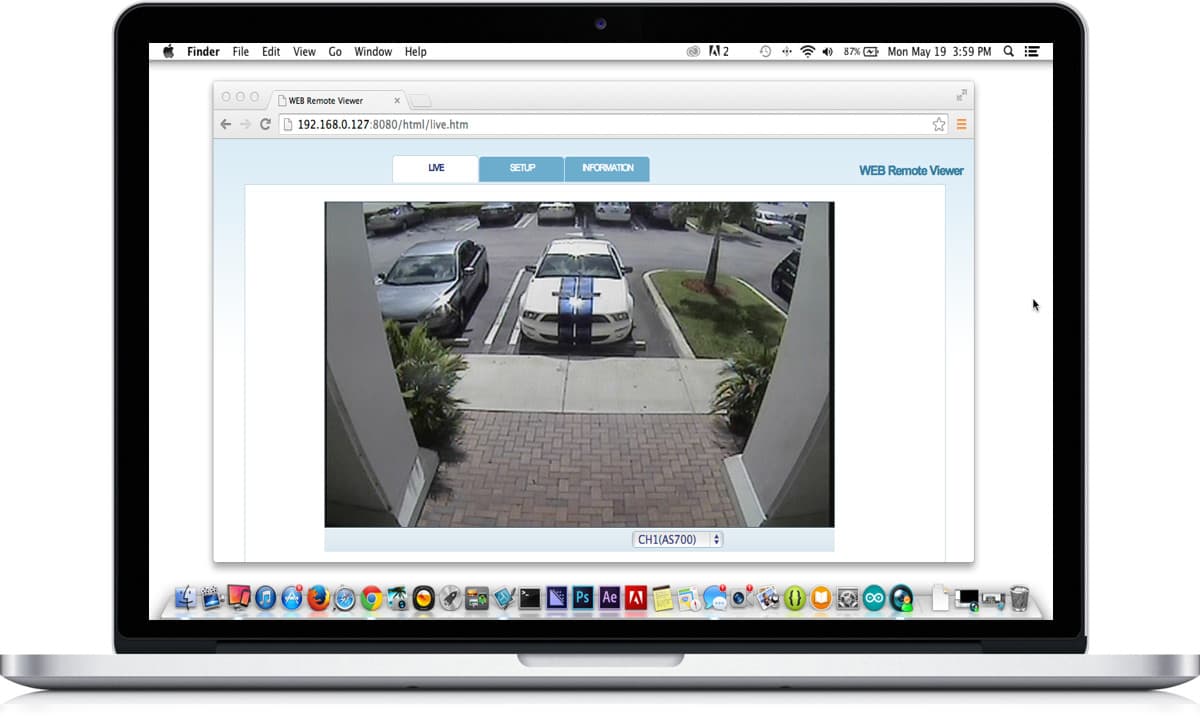
Mac Compatible
|

Click here to
learn more about the latest iDVR-PRO CCTV / HD security camera DVRs.
Works with Analog CCTV and HD Security Cameras

Hybrid iDVR-PROs work with the following security camera types and resolutions.
- AHD Cameras (720p and 1080p resolution models supported)
- TVI Cameras (720p and 1080p resolution models supported)
- Analog CCTV Cameras (all analog resolution supported including CIF, D1, 960H)
Request a Demo
If you do not currently have an iDVR-PRO and would like to log in to the demo unit at our office, please request a demo login below. You will be able to log in from iPhone, iPad, and Android mobile devices. You can also log in from Macintosh and Windows computers. Please
click here to request a demo login.

Complete CCTV Systems
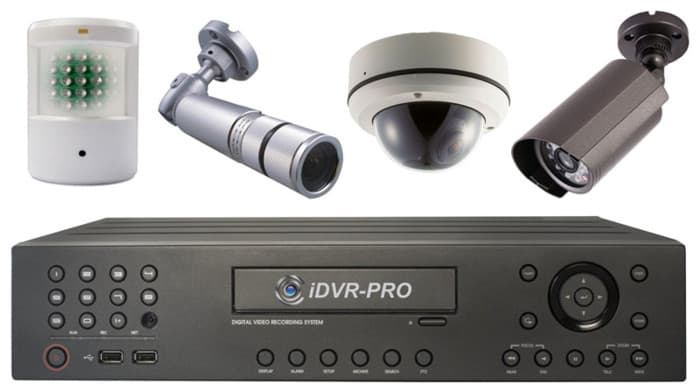
Did you know? CCTV Camera Pros can provide a complete surveillance system quote that includes any iDVR-PRO model with cameras, cables, connectors, power supplies, and monitors? We can even mix and match SD and HD security cameras because the latest iDVR-PROs are hybrid. They work with CCTV, AHD, and HD-TVI type cameras. As you have probably already seen on our website, we have 2, 4, 8, and 16 camera surveillance systems in pre-made packages. However, it is not possible for us to package up every combination and quantity of all the different camera models that we carry. So, we can also provide you with a custom quote with as many cameras as you need and a mix of any combination of camera model(s) based on your project requirements.

About the Author

This article was written by
Mike Haldas, co-founder and managing partner of CCTV Camera Pros. If you have any questions about iPhone security camera app for iDVR, please email me at mike@cctvcamerapros.net.
|


