You are here: Home > Geovision Card Support > Remote Audio Surveillance Setup

Geovision Remote Internet Audio Surveillance

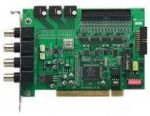
Geovision DVR CardAudio surveillance can be set up for live remote Internet monitoring using a Geovision DVR and a surveillance system microphone. These instructions only cover how to enable the remote Internet or network monitoring of audio using the Geovision webcam server.


These instructions assume that you have already have done the following and have Geovision audio surveillance already working.


  1. Setup Geovision Webcam server for remote Internet/network viewing
  2. Setup a microphone for audio surveillance
  3. Setup Geovision audio for recording and live play


Setting up remote audio

To enable remote audio surveillance recording please follow these steps.
  1. Start your Geovision system if it is not already running.
  2. From the System Menu on your Geovision DVR, select the Network button (#6 below).

    Geovision Menu

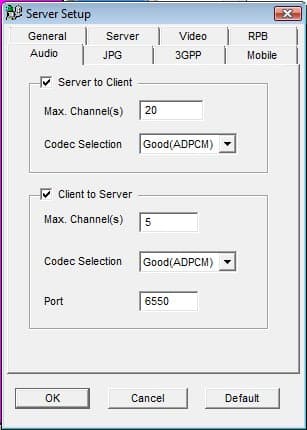
  3. From the network menu, select WebCam server. The Server Setup screen will open. If your Webcam server was already running, you will need to select WebCam server twice from the menu because the first time that you select it, the WebCam server will be shut down.
  4. Click on the Audio tab and make sure that the Server to Client and Client to Server checkboxes are both checked as seen below.


  5. Click OK. The WebCam server will be started.

Listening to Remote Audio Surveillance

Follow these instructions to connect to Geovision from Internet Explorer. On step 8 of those instructions, you will see a speaker/audio button on the Webcam Viewer. Click on that button to enable live audio. Last, ensure that your speakers are on and that the volume is turned up.