Zavio IP Camera Remote View on Mac
This article teaches readers how to set up a Zavio IP camera and remotely view it live using a Macintosh PC. The Bonjour network service is used to locate the IP address of the IP camera, then port forwarding is set up so that users can view their IP camera how remotely using a web browser on Mac. In addition to this article, there is also a video available on this page that shows how to set up a Zavio IP camera.
IP Camera Network Finder Using Bonjour
1. First, make sure that your Zavio IP camera is connected to the same network as your Macintosh computer. if you are setting up a wireless camera, you must first hardwire the camera using a CAT-5 cable for the initial setup.
2. Launch a Safari web browser windows and click the Bookmark icon on the left side of the browser. (Shown Below)

3. Click Bonjour. (Shown Below)

4. In the center of the screen, you should see a list of devices connected to the same network as your Mac. Scroll down until you locate your Zavio IP camera. Double-click the Zavio camera to access it. (Shown Below)

5. Now select your Zavio model from the groups below to set up the settings within the camera. Follow the instructions shown on the image, once complete, reboot the camera and continue to step 6. (Please note that the camera does not have to be set to port 80, you can make it any number you like as long as you use the same port in Step 8 below)
F3206, F7210 or B7210
F210A, F312A, F3100, F3106, F531E, B5110, F731E, P5110 or P5115
F1100 or F1105
6. Now click the System Preferences icon on your Mac desktop, followed by Network. (or go into the Applications menu on your Mac and click the Systems Preferences icon. Then click Network.) (Shown Below)

7. Locate the Router IP Address and write this number down for future reference. (Shown Below)

8. Select your brand of router from the listings below and follow the port forwarding instructions.
Airport Extreme
2 Wire
Comcast SMC
DLINK
Linksys
Netgear
Zyxel
9. Now you have to make sure the ports forwarded are open. You can do this by going to http://dvrport.net from a computer on the same network as your camera. The remote IP Address will automatically populate under Enter IP or Hostname, you will leave this info as is. Change the Enter Port To Scan field to read 80 and press Scan.
10. Once your port forwarding is complete and successful, launch a Safari web browser on a Mac computer connected to a network different than your Zavio camera. Enter your remote IP Address Shown Here, followed by Port 80. It should look like the image below.

11. Enter the Username and Password of your Zavio IP camera. You will now be able to view your Zavio IP camera remotely.
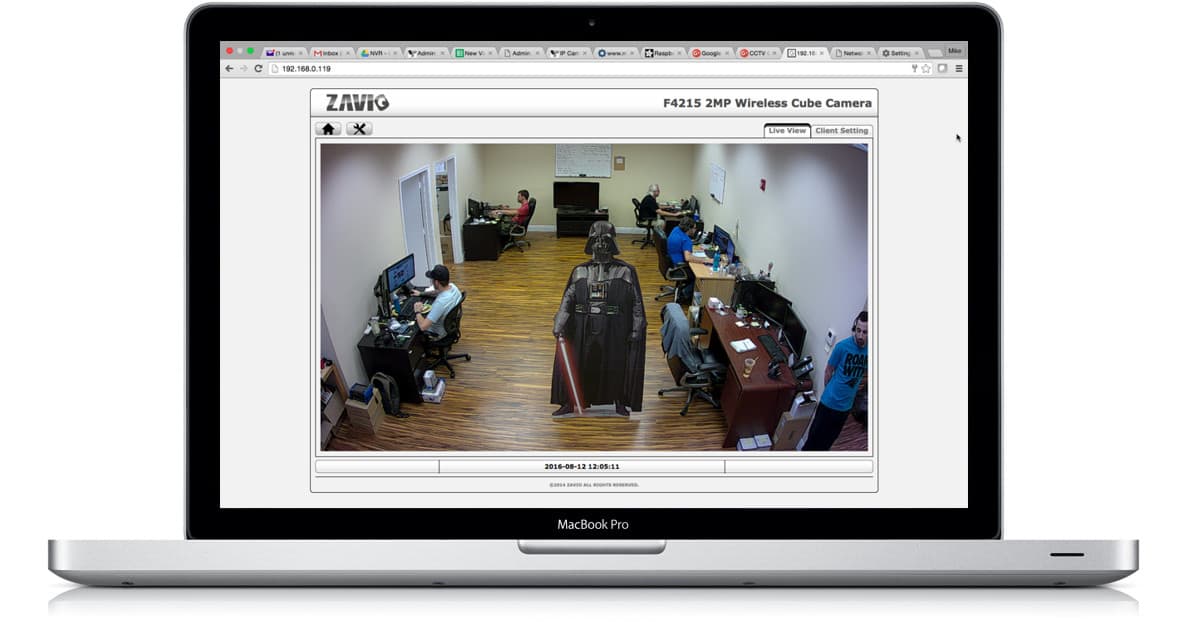
Web Browser View from Mac

Here is the web browser view from Mac. This Mac is viewing a Zavio F4215 wireless HD camera.
Learn more about Zavio

Click here to learn more about the latest Zavio NVRs. Click here to see the latest Zavio IP cameras.
Request a Demo
If you do not currently have a Zavio NVR and would like to log in to the demo unit at our office, please request a demo login below. You will be able to log in from iPhone, iPad, and Android mobile devices. You can also log in from Macintosh and Windows computers. Please click here to request a demo login.

Complete IP Camera Systems
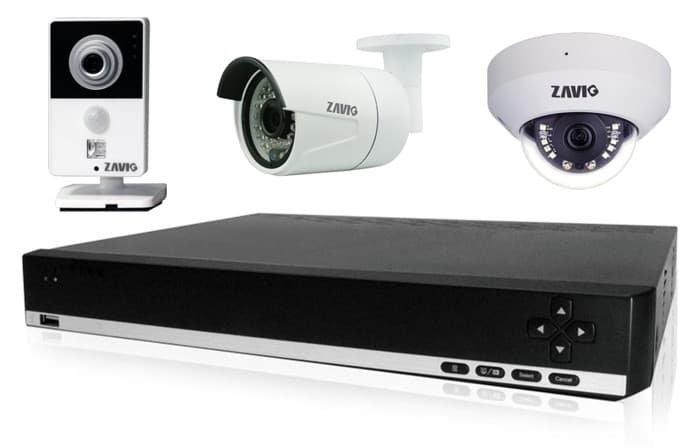
Did you know? CCTV Camera Pros can provide a complete IP camera system quote that includes a stand along Zavio NVR or a custom PC based NVR build using the 64 channel IP camera software included with all Zavio IP cameras. We can also include any number and model of cameras, CAT-5 cables, PoE switches, and monitors. Let us customize a system based on your project requirements.

About the Author

This article was written by Mike Haldas, co-founder and managing partner of CCTV Camera Pros. If you have any questions security cameras and video surveillance systems, please email me at mike@cctvcamerapros.net.
|


