CCTV DVR Video File Backup & Playback with Windows Software

In addition to the live CCTV camera viewing, the Windows DVR client software iDVR-E surveillance DVRs lets users open and playback recorded video files that have been exported via the backup function. Download the Enterprise Management Software v2 and follow along with these instructions to experience how to playback exported video surveillance footage from a Windows PC. We also have an article located here to backup and playback video using the Mac DVR software.
You can use these instructions to perform a video backup and playback using your iDVR-E. You can also skip ahead to this section (after you download and install the DVR software) if you would like to download a file that we previously exported using the demo surveillance system at CCTV Camera Pros warehouse.
You can also watch a video demo here to see this process.
Download DVR Software
You can download the latest EMS2 DVR software here. The software is called EMS2. Please note that this software will only work with iDVR-E video surveillance DVRs from CCTV Camera Pros. Install the software on your Windows PC after you download it.
HD Surveillance Cameras
Note about HD Surveillance cameras: please be aware that the iDVR-E4 that was used to record and export the video surveillance contained in the above file had 2 analog CCTV cameras and 2 HD CCTV cameras connected to it at the time of recording. This is a hybrid DVR that supports both analog CCTV and AHD CCTV cameras on all channels. Channels 1 and 2 are standard definition. Channels 3 and 4 are AHD (analog high definition 720p). When you playback the video, you will notice the difference in resolution especially when you view the cameras in single screen mode. You can learn more about AHD CCTV here.
CCTV DVR Recorded Video Search & Playback
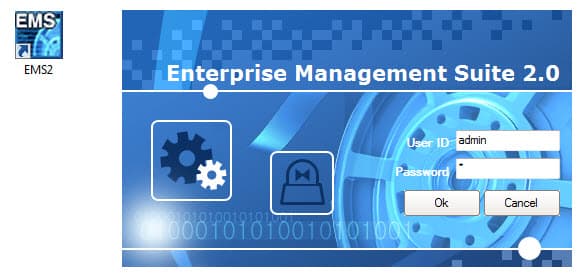
In this section, we will use the search and playback feature of the software to locate the recorded video surveillance footage that we want to backup. Open the EMS2 software by double-clicking on the icon on your Windows desktop. Then, enter user id "admin" and password "0" (zero). Click OK.
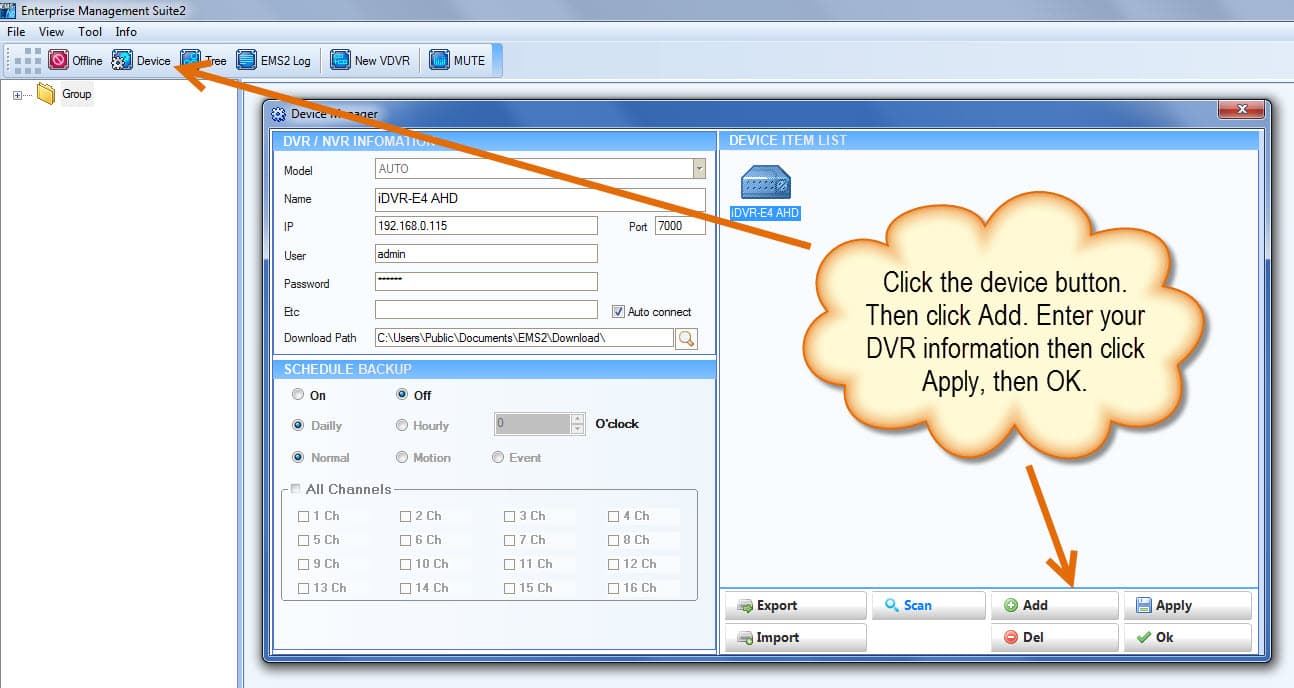
If you have already configured the software to connect to your DVR, you can skip this step. After the software starts, click on the device button, then click Add. Enter a name for your DVR, the IP address, port, user ID, and password. The default ID and password for iDVR-E is "admin" and "000000" (six zeros). Click Apply, then OK.
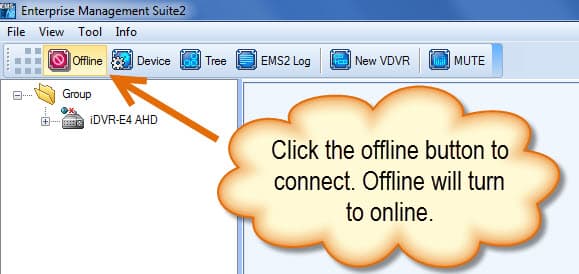
To connect to your DVR, click on the Offline button. The software will connect to your DVR over the network and "Offline" will change to "Online". Please note that this DVR software can be used to connect to your DVR on the same network where your DVR is located as well as remotely over the Internet. If you are going to connect remotely over the Internet, you need to configure port forwarding first.
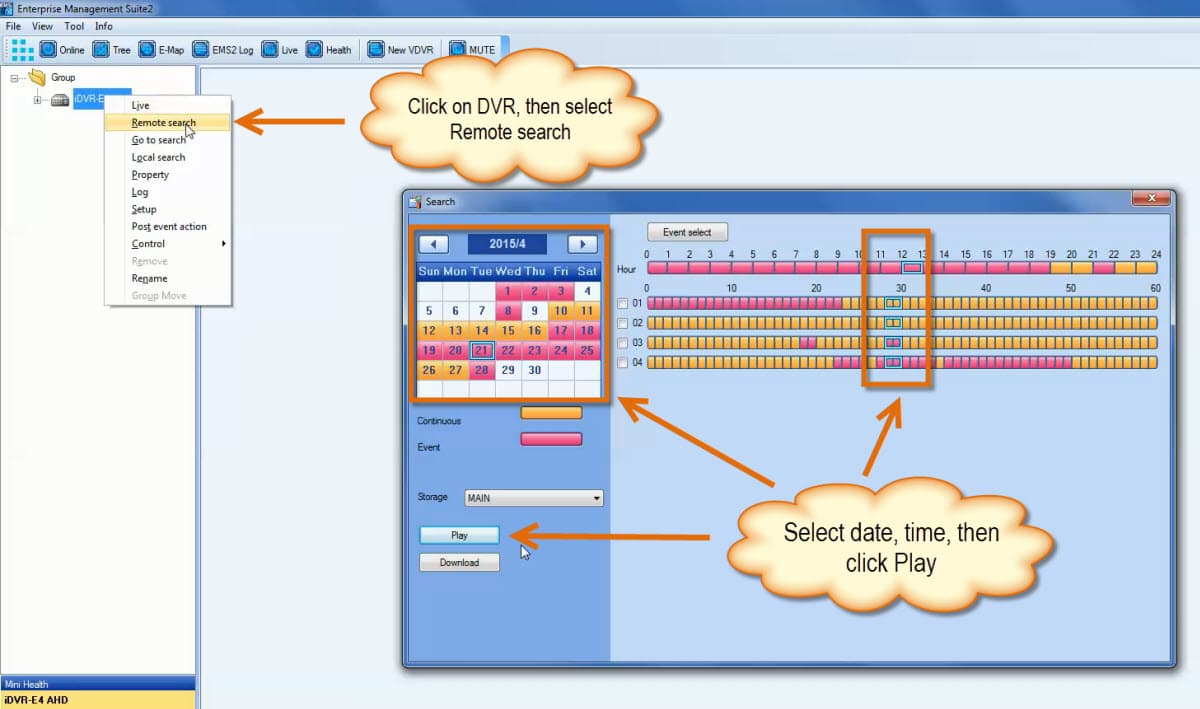
Using your mouse, right click on the DVR. You may need to expand the folder / group that you put the DVR in to see it. Then click remote search. A date / time search window will open. Click on the day that you want to view, then click on the hour. You can click and drag the selection across multiple minutes. Then click on the play button. Please note that continuous recording is noted in orange and event recording (including motion detection) is noted in pink.
You can see in our example, that I am selecting 4/21/2015 12:28 to 12:30. Notice that event recording was triggered on cameras 3 and 4 during that time period.
The video player will open and surveillance footage will begin playing back at the beginning of the time period selected. You can use the player controls in the upper right of the screen to play the video in forward and reverse. You can also pause and restart the video. You can change screen views using the different grid layouts next to the player controls. The capture button allows you to save a still image of what the player is currently displaying.
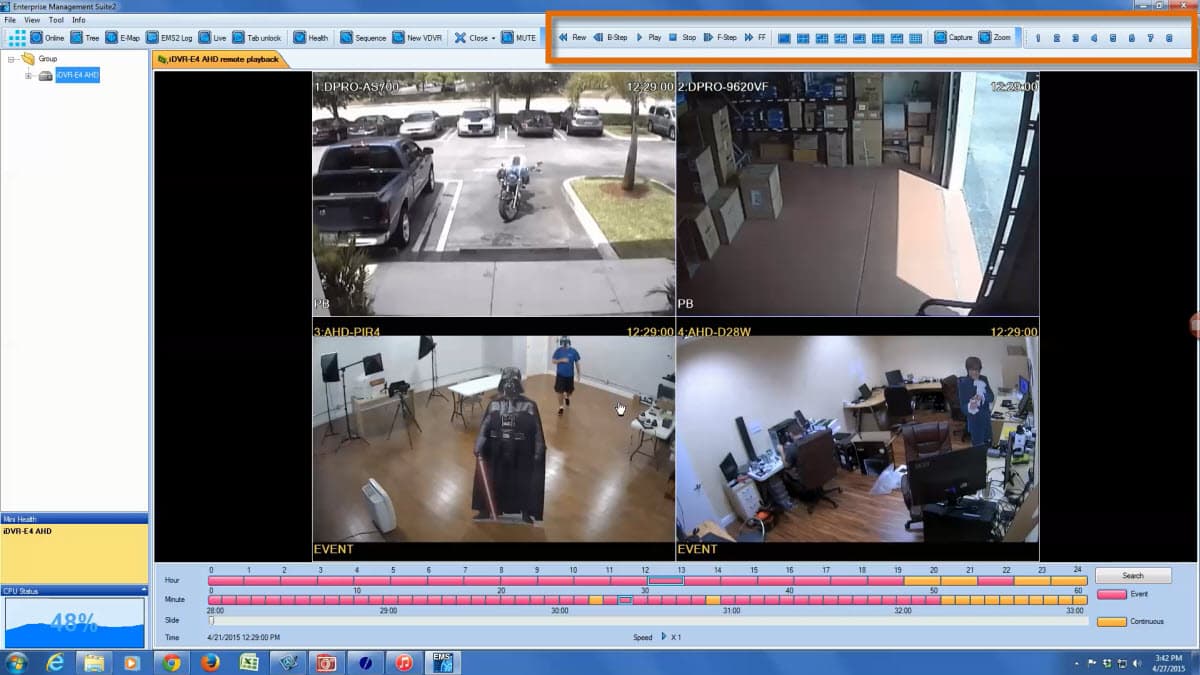
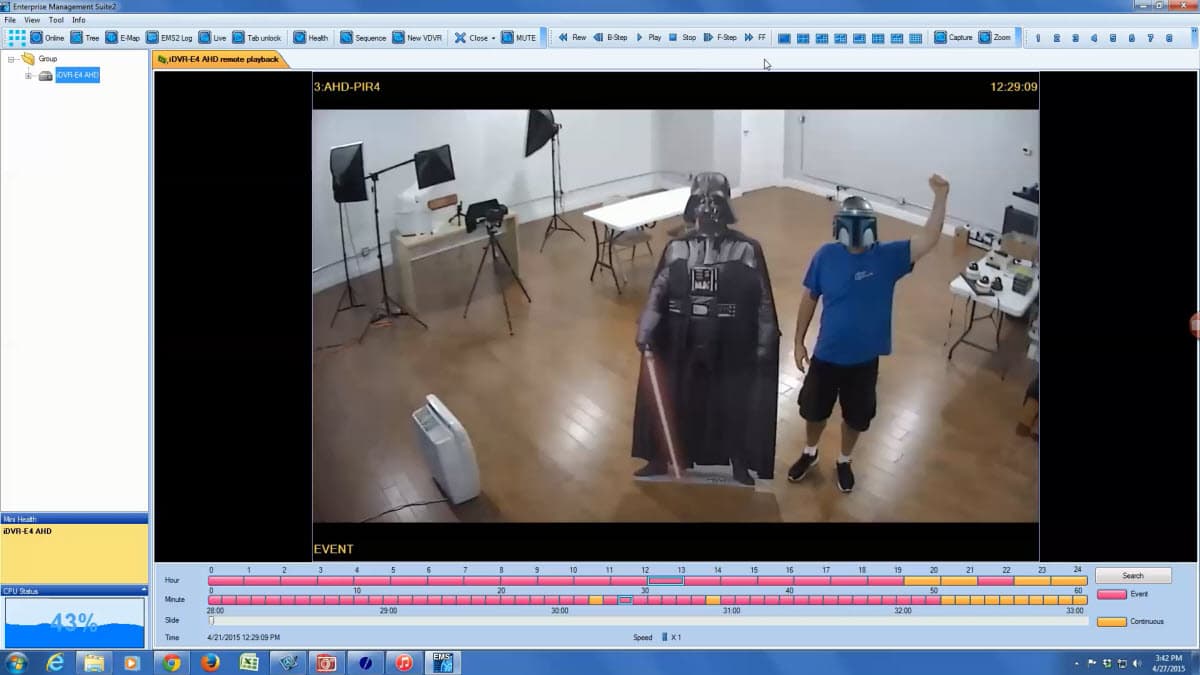
The below screenshot shows that I switched from the 4 camera view to a single camera view of camera 3. This was done by double-clicking on camera 3.
Save Surveillance Photo
Support you want to save a still photo from the video. You can do this by pressing the play button to pause the video at the time that you want to save. Then click on the "Capture" button, then save as to export a JPEG file. Please note that if the player was displaying more than one camera on the screen, the image all security cameras in the display grid would be included in the surveillance photo that is saved.
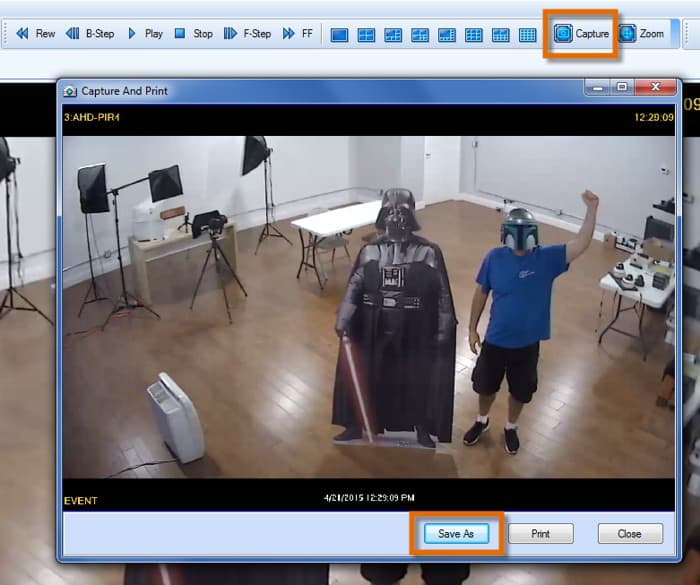
When you click on the save as button, a file save window opens and you can browse to the directory location to save the image to. You can click here to see the JPG photo that was saved from the capture that I performed.
Backup CCTV Video to File
In this section, I will walk you through how to backup CCTV video footage to a file. Click on the DVR, then select remote search. Select the date and time that you want to backup, then click on the download button.
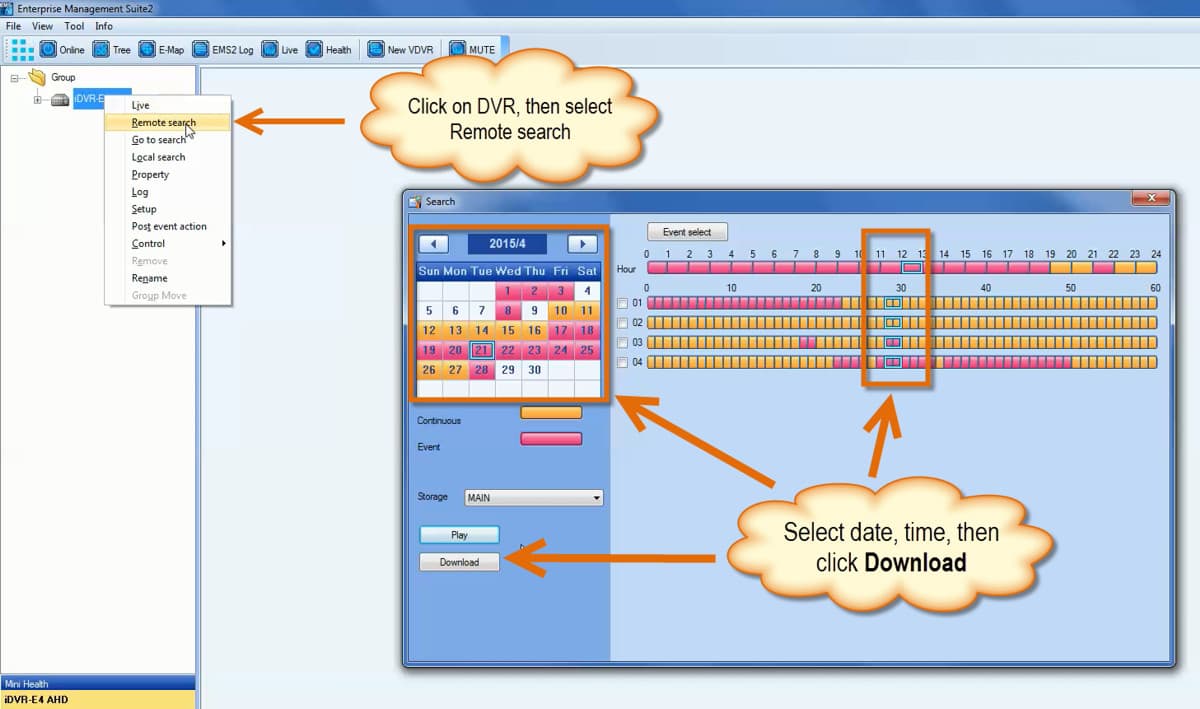
A download status screen will open and report when the backup is complete. You can click on the close button when done.

If you want to try playing back archived video using the EMS2 software and you do not yet have an iDVR-E, you can click here to download a sample video file that we exported. Save the DVR file (.cms) to a location on your PC where you can easily find it again. If you are following these instructions to perform a backup / playback on your DVR, you do not need to download the sample file.
Play Video from DVR Backup File
To open a video file from backup, click on the Tool menu and select File Playback. Then click on the Open button in the lower right of the file playback screen. An open file box will appear and will most likely be in the location of the software's backup path. Browse to the location where your backup file is located and open it. If you do not know the location of your backup path, select Setup from the File menu. There is a field on the settings page for default download path.
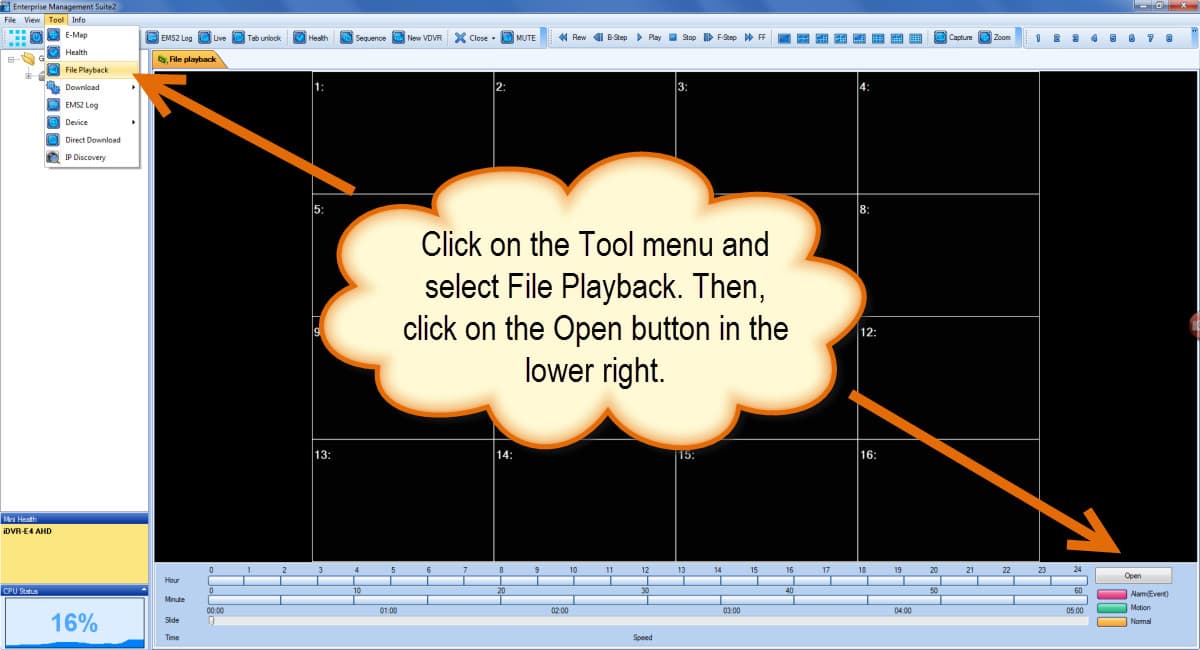
The video contained in the backup file will begin playing. You can use the same player controls as when playing back video recorded to the DVRs hard drive.

Watch this video to see the search, playback, and video backup process in action.
About the Author

This article was written by Mike Haldas, co-founder and managing partner of CCTV Camera Pros. If you have any questions about setting up the Mac software for iDVR, please email me at mike@cctvcamerapros.net.
Learn more about iDVR
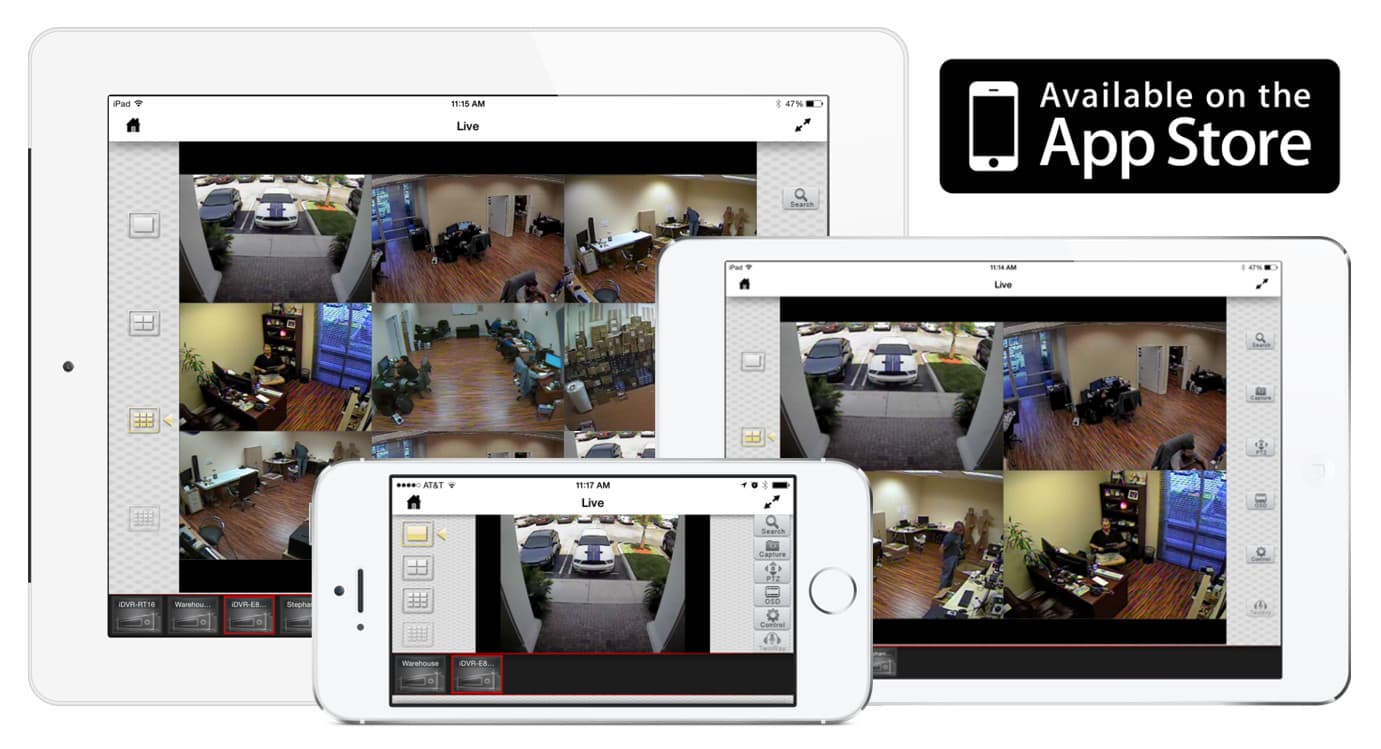
iPhone / iPad Compatible
|
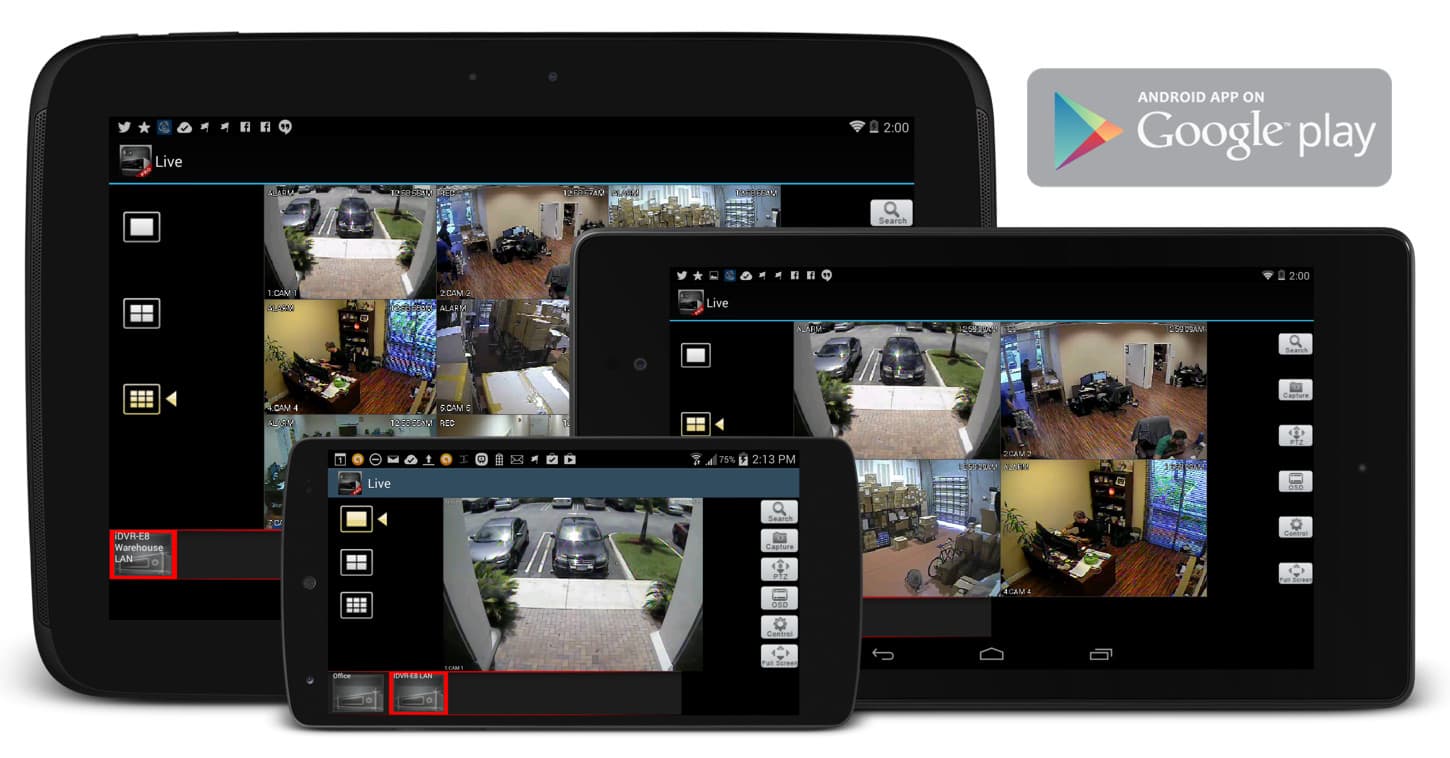
Android Compatible
|
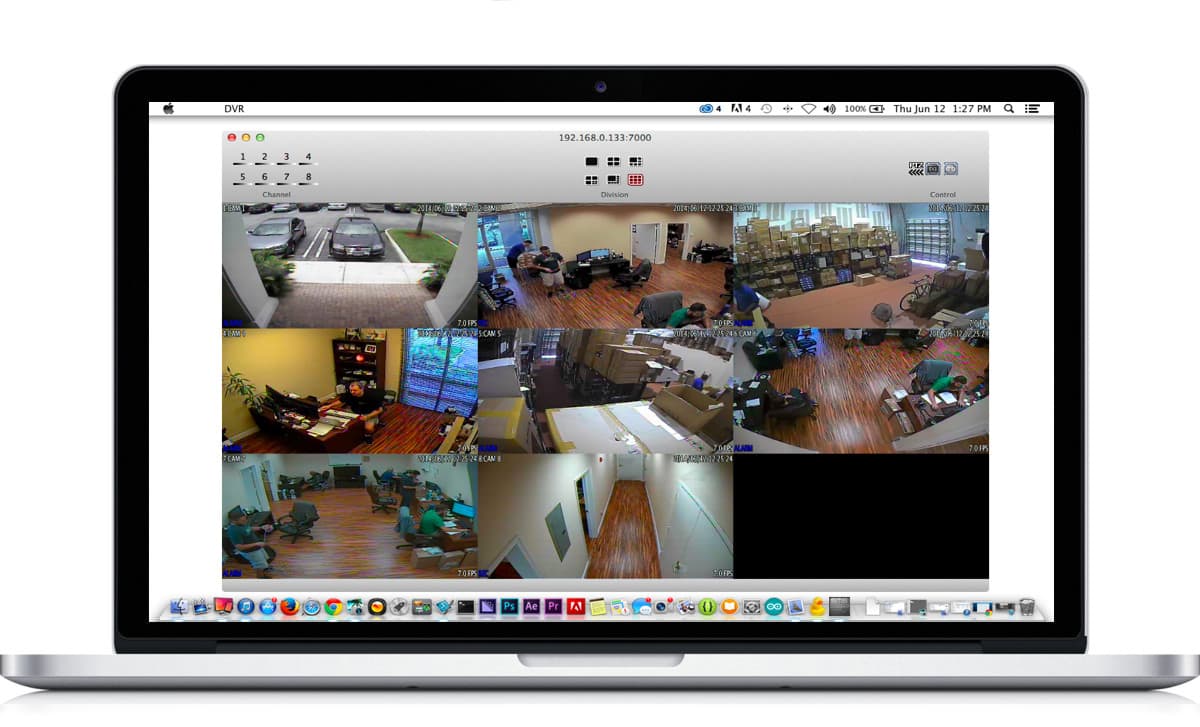
Mac Compatible
|

Click here to learn more about the latest HD CCTV Hybrid DVRs.
Request a Demo
If you do not currently have an iDVR-PRO and would like to log in to the demo unit at our office, please request a demo login below. You will be able to log in from iPhone, iPad, and Android mobile devices. You can also log in from Macintosh and Windows computers. Please click here to request a demo login.

Complete CCTV Systems
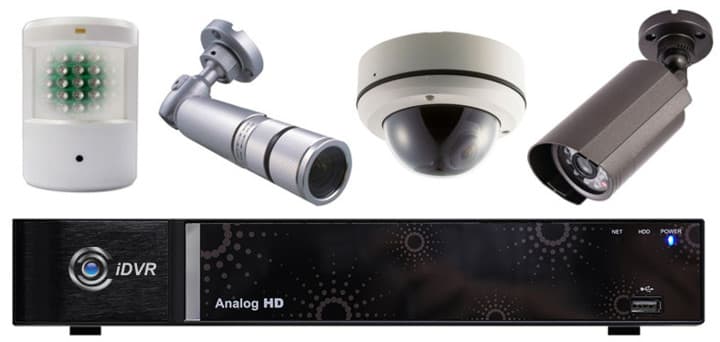
Did you know? CCTV Camera Pros can provide a complete surveillance system quote that includes a hybrid iDVR-E surveillance DVR, any number of cameras SD and HD CCTV cameras you need plus cables, connectors, power supplies, and monitors? As you have probably already seen on our website, we have 2, 4, 8, and 16 camera surveillance systems in pre-made packages. However, it is not possible for us to package up every combination and quantity of all the different camera models that we carry. So, we can also provide you with a custom quote with as many cameras as you need and a mix of any combination of camera model(s) based on your project requirements.

|


