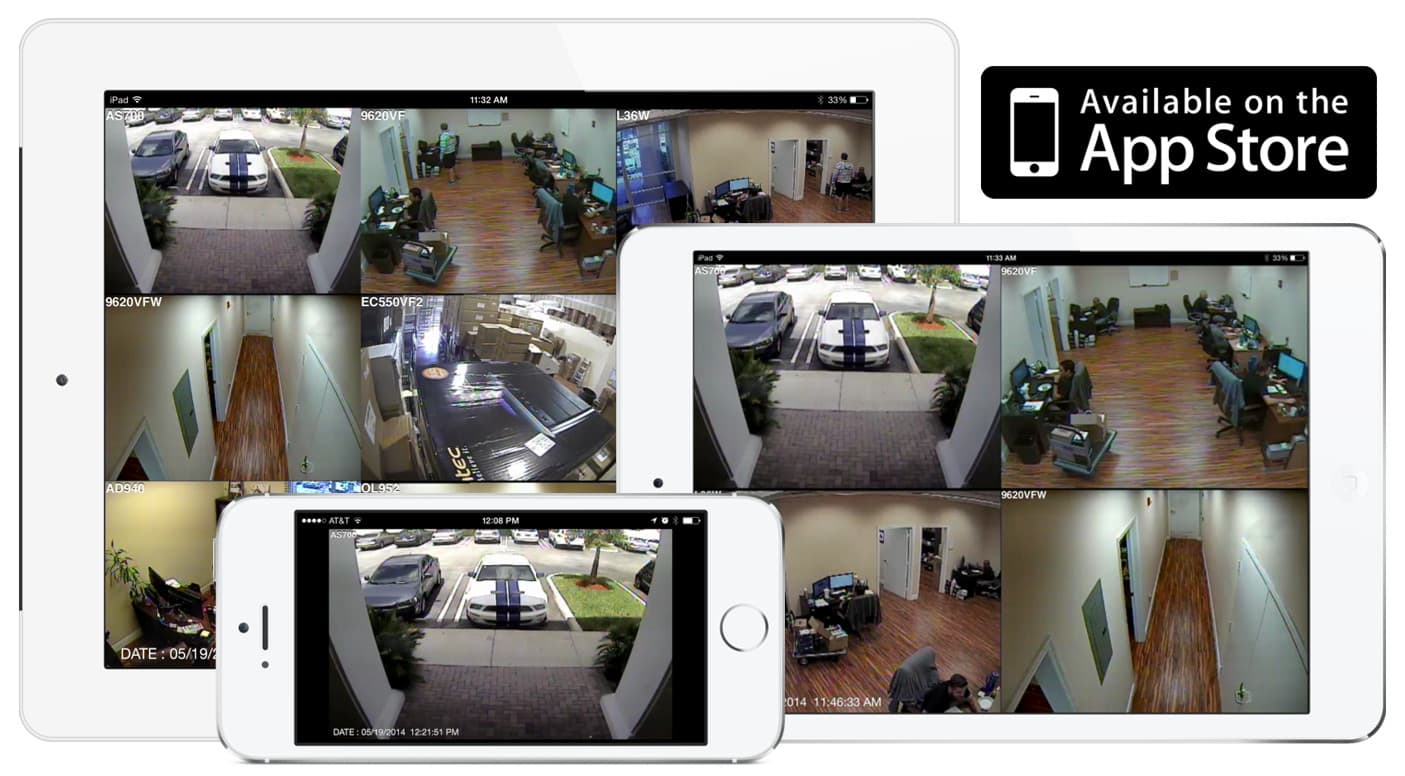
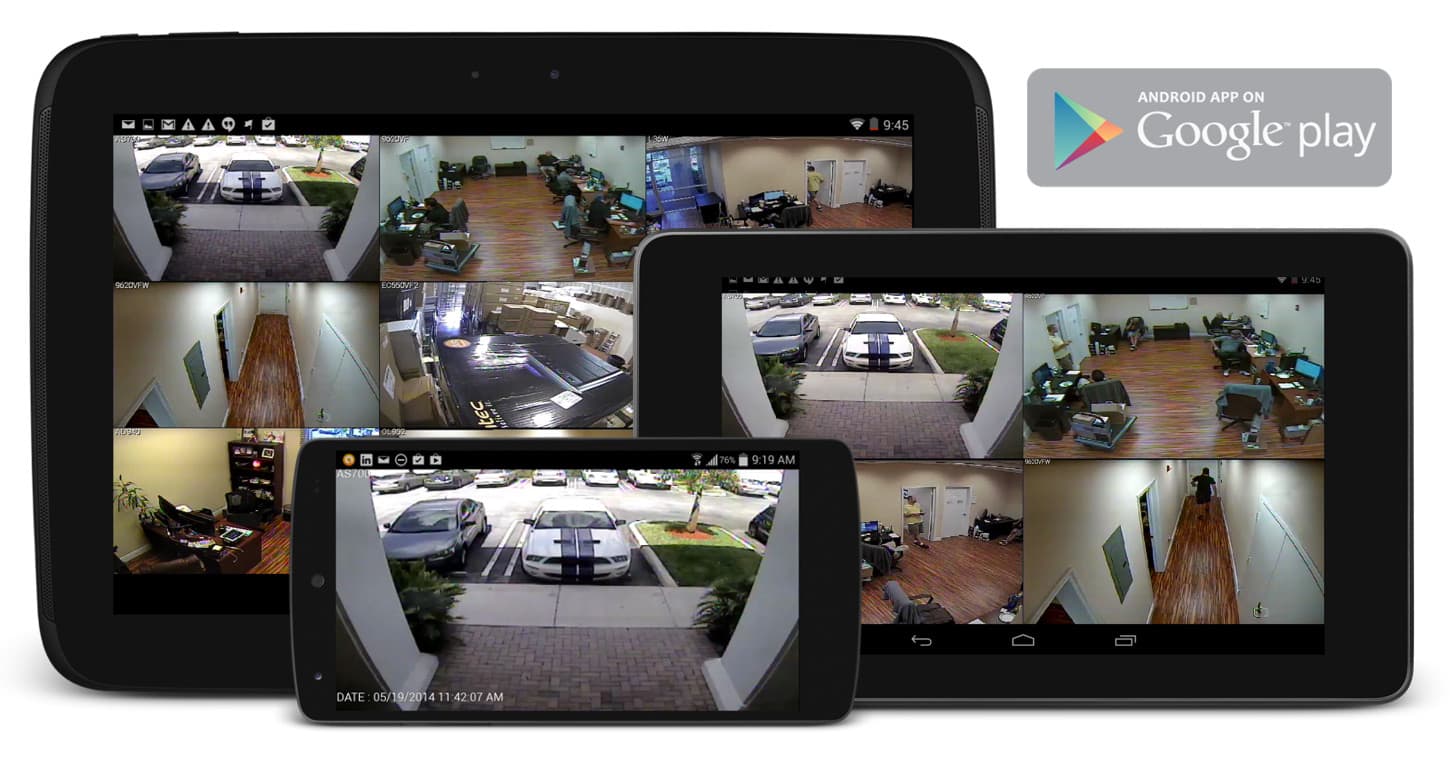
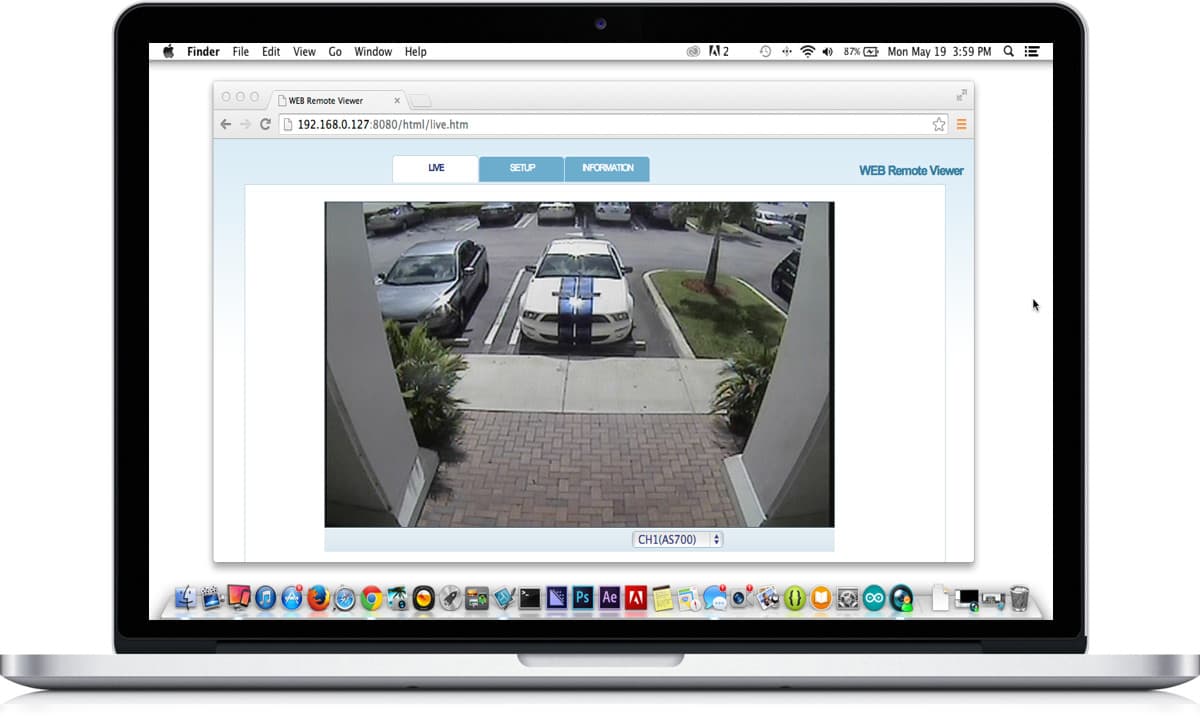
View IP Cameras from Mac
View IP Cameras Live & Playback Recorded Video Surveillance from Macintosh PCs with the Zavio NVR Web App.
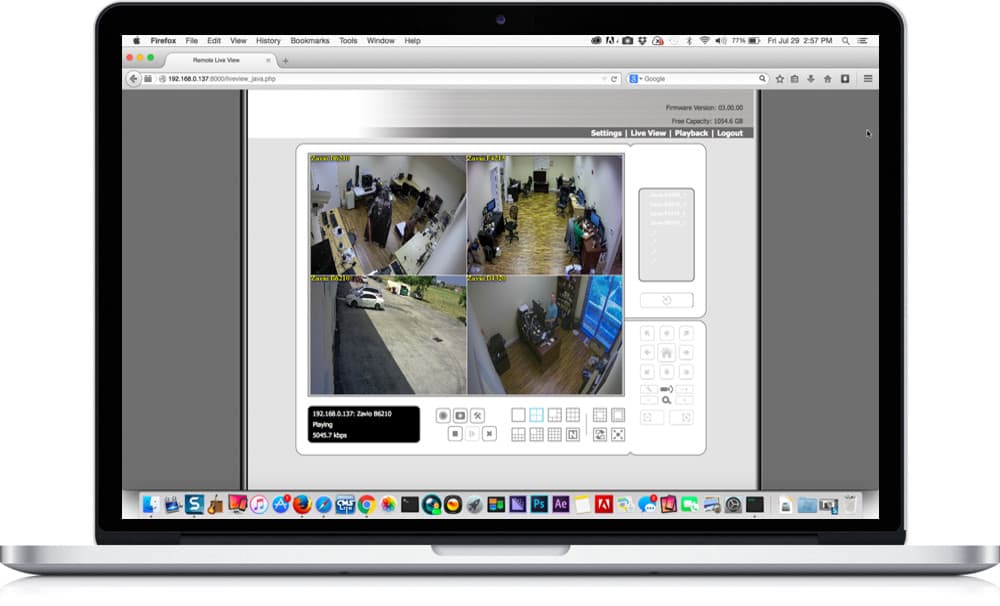
Users can remotely access live video from Zavio IP cameras using a Zavio NVR and the web app for Macintosh PCs. The web app is launched by accessing a stand-alone Zavio NVR or PC based NVR from a web browser on Mac. The app requires Java and will prompt the user to download the Java app the first time the NVR is accessed.
This article was written to help familiarize users with the graphical user interface, functions, and controls that are available from the Mac software.
Please Note: In order to access the Zavio NVC NVRs on Mac, a specific version of Mozilla Firefox must be used. Here is a link to the download for that version of Firefox and the instruction for setup - Accessing Zavio NVC NVR on Mac.
Works with Zavio NVRs & IP Camera Software
The CamGraba app works with Zavio NVRs and also with the 64 channel IP camera software that is included with all Zavio IP cameras. Zavio IP camera software is installed on a Windows PC and turns the PC into a 64 channel network video recorder.
Live IP Camera View Mode Controls

Once you connect to an NVR using from the Macintosh web app, you can click on the "Live View" link to enable live mode. The above screenshot notes all of the controls and menu that are available in the live mode of the app.
- Camera List - Lists all of the available IP cameras available in the current NVR that the app is connected to.
- Log In / Log Out - Connect / disconnect from the NVR.
- PTZ Camera Control - when viewing a PTZ camera, these controls are enabled to move the camera.
- Set Preset Point - create a preset point on a PTZ camera.
- Go to Preset Point - move to a preset point on a PTZ camera.
- Zoom in / Zoom Out - PTZ camera controls.
- Focus Far / Auto Focus / Near Focus - PTZ camera controls.
- Information Display Window - displays NVR connection information such as IP address and connection speed.
- Play / Stop / Drop - Allows users to connect, disconnect, and remove connections to IP cameras.
- Start Menu - Opens the input / output control panel.
- Playback - Switches from live camera view to recorded video search & playback view.
- Live View Setting - Opens the live view mode settings page.
Users can right mouse click on the screen to bring up this menu.

These controls perform the following actions.
- Enable Audio: Enable audio on active channel(s).
- Enable Digital PTZ: Click the + or – button to zoom in or zoom out the view. The lower right square flashing on the video grid indicates the correspondent view of the camera.
- Fisheye Lens Setting: Select the mode of the lens. There are four modes for Generic Dewarp, including Original, Rectilinear mode, Quad mode, and Dual-view panorama mode; four modes for ImmerVision, including Original, PTZ mode, Quad mode and Perimeter mode; and other four modes for Vivotek Fish Eye, including Original, Rectilinear mode, Full-view panorama mode, Dual-view panorama mode. Type of modes depends on lens location.
- Fix Aspect Ratio - enables / disables a fixed aspect ration
- Stream Profile: Select the stream profiles, original, low, minimum.
- Snapshot: Select the snapshot function to capture a specific video image to save to disc.
- Toggle Fullscreen: Select it to view cameras with full screen. Press “Esc” or right click un-select full screen to go back to the original view.
Multi-Camera Screen Layouts

The grid icons on the live view allow the user to switch between different IP camera views and the number of cameras displayed on the screen. Users can also switch the app to full-screen mode.
Full-Screen View
The fullscreen mode removes all of the controls and menus from the view and displays the IP camera video full screen. Please click on these images for a larger view.

Here is a fullscreen view of 4 IP cameras.

Here is a full-screen view of one IP camera.
Remote Recorded Video Playback
When users click on the playback link or the playback icon, the app changes into playback mode. Playback mode allows users to remotely search and playback video surveillance that has been recorded on the NVR's hard drive. Below is the remote playback screen on Mac and a description of the available controls.

- Open Record - opens the search screen (see details below).
- General Setting - font size, color, information displayed can be adjusted.
- Enhancement / Post Processing Tool - no longer available.
- Backup - opens the backup screen and enables users to select cameras and date range to export video to disc. Also exports a software player.
- Save Image - saves a snapshot image.
- Export Video / Audio - users can use the cue in / cue out buttons to select start / end times. Then export a .mov file. Exports a single camera video only, whereas the backup function can backup more than one camera.
- Screen Division - user can select single and multiple camera views when in playback mode.
- Zoom - digital zoom in / out.
- Speed - speeds up / slows downs video playback.
- Player Controls - forward, reverse, stop, play, pause, step / interval forward / back
- Information Display Window - displays video date and time, cue-in /cue-out point times, and speed.
Recorded Video Search
When users click on the "Open Record" button on the playback screen, the below window opens, which allows the user to search for recorded video.

- Refresh - queries the NVR for the latest video recording update.
- POS Search - if using a point of sale module, this opens the POS search screen.
- Previous / Next Recording Date - jumps forward / back to recording dates.
- Record Display Window - displays a calendar view noted if there are any recordings of the dates displayed.
- Video Preview - when the user selects a time on the timeline area, a video preview can be displayed here.
- Date Time Period - the start and end time that the user wants to playback.
- Time Table - displays an hourly timetable by the camera and the type of recording that occurred.
- Recording Types - different types of recordings can be displayed using different colors. E.G. always, event, alarm, motion detection
Learn more about Zavio
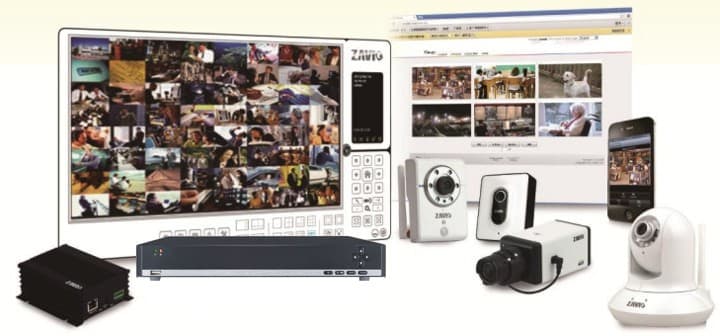
Click here to learn more about the latest Zavio NVRs. Click here to see the latest Zavio IP cameras.
Works with Zavio IP Cameras & 3rd Party IP Cameras
Zavio stand-alone NVRs work with all Zavio IP cameras and thousands of third-party IP camera models.
Request a Demo
If you do not currently have a Zavio NVR and would like to log in to the demo unit at our office, please request a demo login below. You will be able to log in from iPhone, iPad, and Android mobile devices. You can also log in from Macintosh and Windows computers. Please click here to request a demo login.

Complete IP Camera Systems
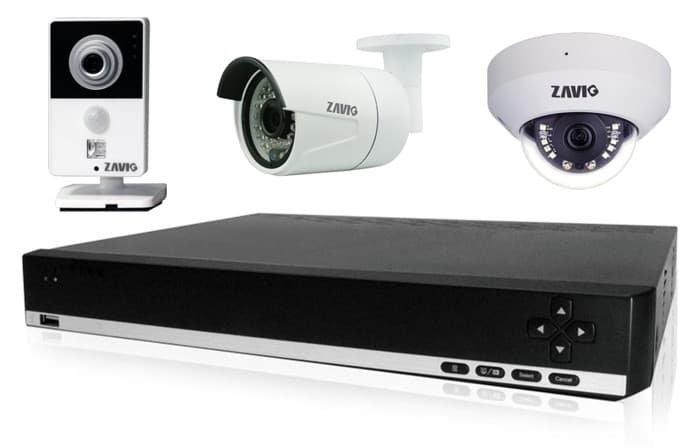
Did you know? CCTV Camera Pros can provide a complete IP camera system quote that includes a stand along Zavio NVR or a custom PC based NVR build using the 64 channel IP camera software included with all Zavio IP cameras. We can also include any number and model of cameras, CAT-5 cables, PoE switches, and monitors. Let us customize a system based on your project requirements.

About the Author

This article was written by Mike Haldas, co-founder and managing partner of CCTV Camera Pros. If you have any questions security cameras and video surveillance systems, please email me at mike@cctvcamerapros.net.
|


